Baking · British
Classic Scones
Tall, light and on the table in about half an hour. Jam and cream on top are compulsory.
- Hands-on
- 15 min
- Hands-off
- 15 min
- Total
- 30 min
- Makes
- 8 scones (5 cm / 2 in)
- Serves
- 8
About 30 minutes: 15 hands-on and 15 in the oven. The oven and tray heat up while you make the dough.
Oven 220 °C · 200 °C fan (425 °F)
- easy
- vegetarian
- afternoon-tea
- british-classic
- quick
- baking-basics
- freezer-friendly
Verified against at least two trusted test kitchens or food-safety guides · Last checked · What this means
Scaling? Doubles easily, but bake on two hot trays or in batches rather than crowding one; check each batch with the pull-apart test. Some items (like eggs) don’t halve neatly: beat them, then measure out half.
Ingredients
You need: sieve · large mixing bowl · round-bladed table knife · 5 cm (2 in) plain round cutter (not fluted) · non-stick baking tray · pastry brush · wire rack · oven mitts
Contains: wheat · milk · egg
Method
Heat the oven and the tray
Heat the oven to 220°C (200°C fan, gas 7, 425°F). Once it's hot, slide in a non-stick baking tray to heat up too.
Ready when: The oven is fully up to temperature and the tray has been heating inside it for a few minutes.
Rub in the butter
Sieve 350 g (3 cups) self-raising flour and 1 tsp baking powder into a large bowl. Rub in 90 g (6 1/2 tbsp) cold cubed butter with your fingertips, then stir in 40 g (3 tbsp) caster sugar and a pinch of salt.
Add the milk
Make a well in the middle, pour in 175 ml (3/4 cup) milk and stir with a round-bladed knife just until a soft dough forms. It looks quite wet at first; don't overmix.
Otto tried this firstOtto kneads the dough like bread 'to make it strong'. Overworked scones come out tough. Mix only until it holds together.Shape and cut
Turn the dough onto a lightly floured surface and press it out to 4 cm (1 1/2 in) thick. Dip the 5 cm (2 in) cutter in flour and cut out 4 scones. Gently press the scraps together and cut 4 more.
Onto the hot tray and glaze
With oven mitts, take out the hot tray. Turn each scone upside down onto it, close together for a taller rise and softer sides (or spaced apart for crisper sides). Lightly brush the tops with the beaten egg or 2 tbsp milk.
Ready when: The tray is still hot when the scones go on, and the tops are lightly and evenly glazed.
Bake
Bake for about 15 minutes.
Ready when: Risen and golden. Pull one away from the others: the side should look baked all the way through, not wet or doughy.
Cool and serve
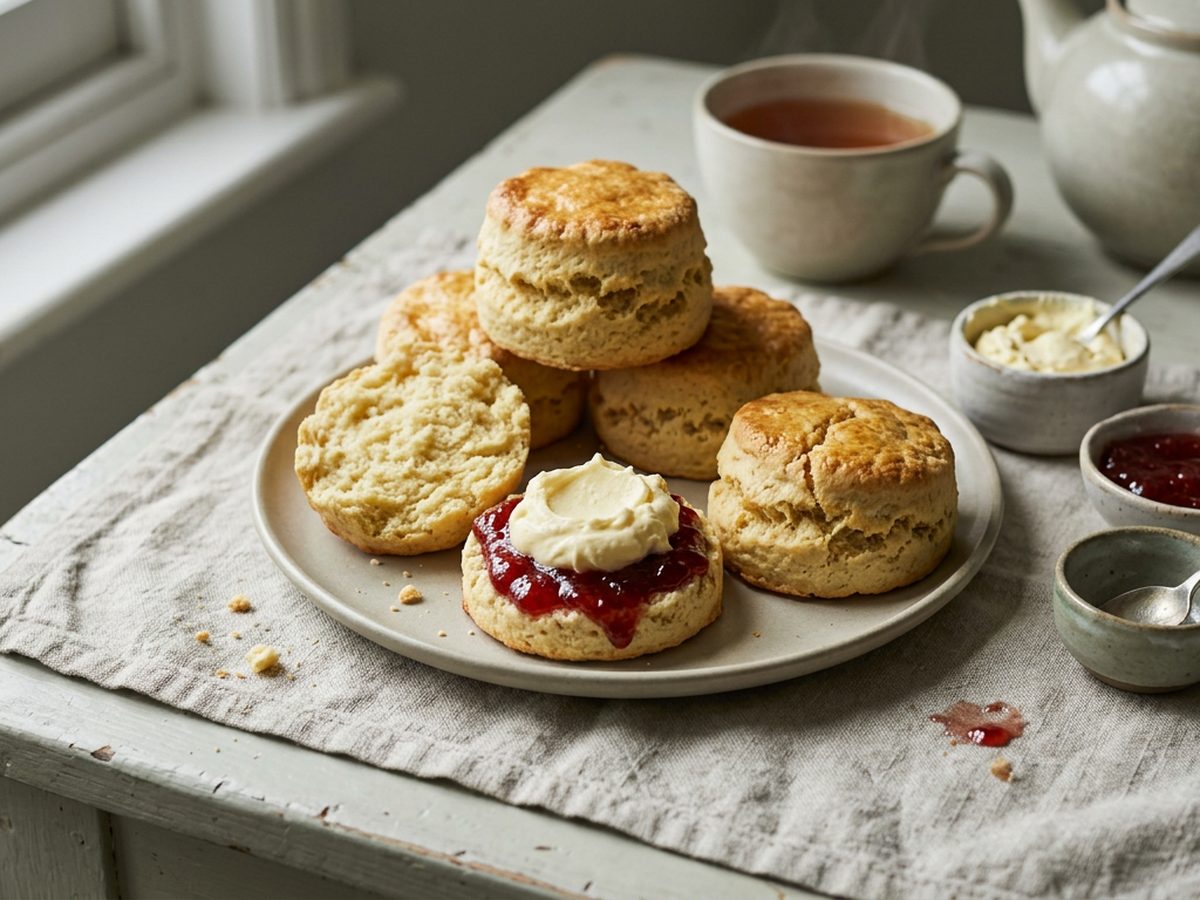
Move the scones to a wire rack. Serve warm or cold with jam and clotted cream (in whichever order you like) or with butter.
Swaps
- Instead of egg glaze: 2 tbsp milk Brush it on the tops only.
- Instead of cold milk: the same 175 ml milk warmed for about 30 seconds in the microwave, with 1 tsp vanilla extract and a squeeze of lemon juice stirred in Only slightly warm, never hot.
- Instead of jam and clotted cream: butter
Make ahead, store & reheat
- Make ahead
- Freeze the cut, unbaked scones in a freezer bag for up to a month. Bake them straight from frozen (no need to thaw) at 180°C (160°C fan, gas 4, 350°F) for about 25 minutes, until golden and baked through.
- Storage
- Best the day they're baked. Once completely cool, wrap leftovers or keep them in an airtight container at room temperature for a few days.
- Reheat
- Warm on a baking sheet, loosely covered with foil, in a 180°C (160°C fan, 350°F) oven for about 10 minutes.
If something goes wrong
- Tough or crumbly scones Why: Dough overmixed or scones overbaked
Mix by hand only until the dough comes together, handle it gently and take the scones out as soon as they pass the pull-apart test. - Scones rise unevenly or lean Why: Fluted cutter, or edges squashed while cutting
Use a plain cutter dipped in flour and turn the scones upside down on the tray. - Doughy in the middle Why: Not baked long enough
Give them a couple more minutes and check again with the pull-apart test.
Good to know
- Chill the bowl, the cutter and the butter before you start for a better rise.
- Short of time? Chill the cut scones on a tray in the fridge for 15 minutes while the oven heats; they come out fluffier.
- Use only a light dusting of flour on the surface; too much makes the scones heavy.
Safety
- Don't taste the raw dough: raw flour and raw egg can carry harmful bacteria such as E. coli and Salmonella. Wash hands, bowls and the counter with warm soapy water afterwards.
- The baking tray goes into the oven empty and comes out very hot. An adult lifts it out with oven mitts and puts it on a heatproof surface; kids can place the scones once it's set down, keeping their fingers off the metal.
- Trays and oven racks stay hot for a while after baking. Use oven mitts.